はじめに
こんにちは、Crazeです!😃
One day, I thought I wanted to arrange multiple widgets horizontally, so I used the Row widget, thinking it was the right choice.
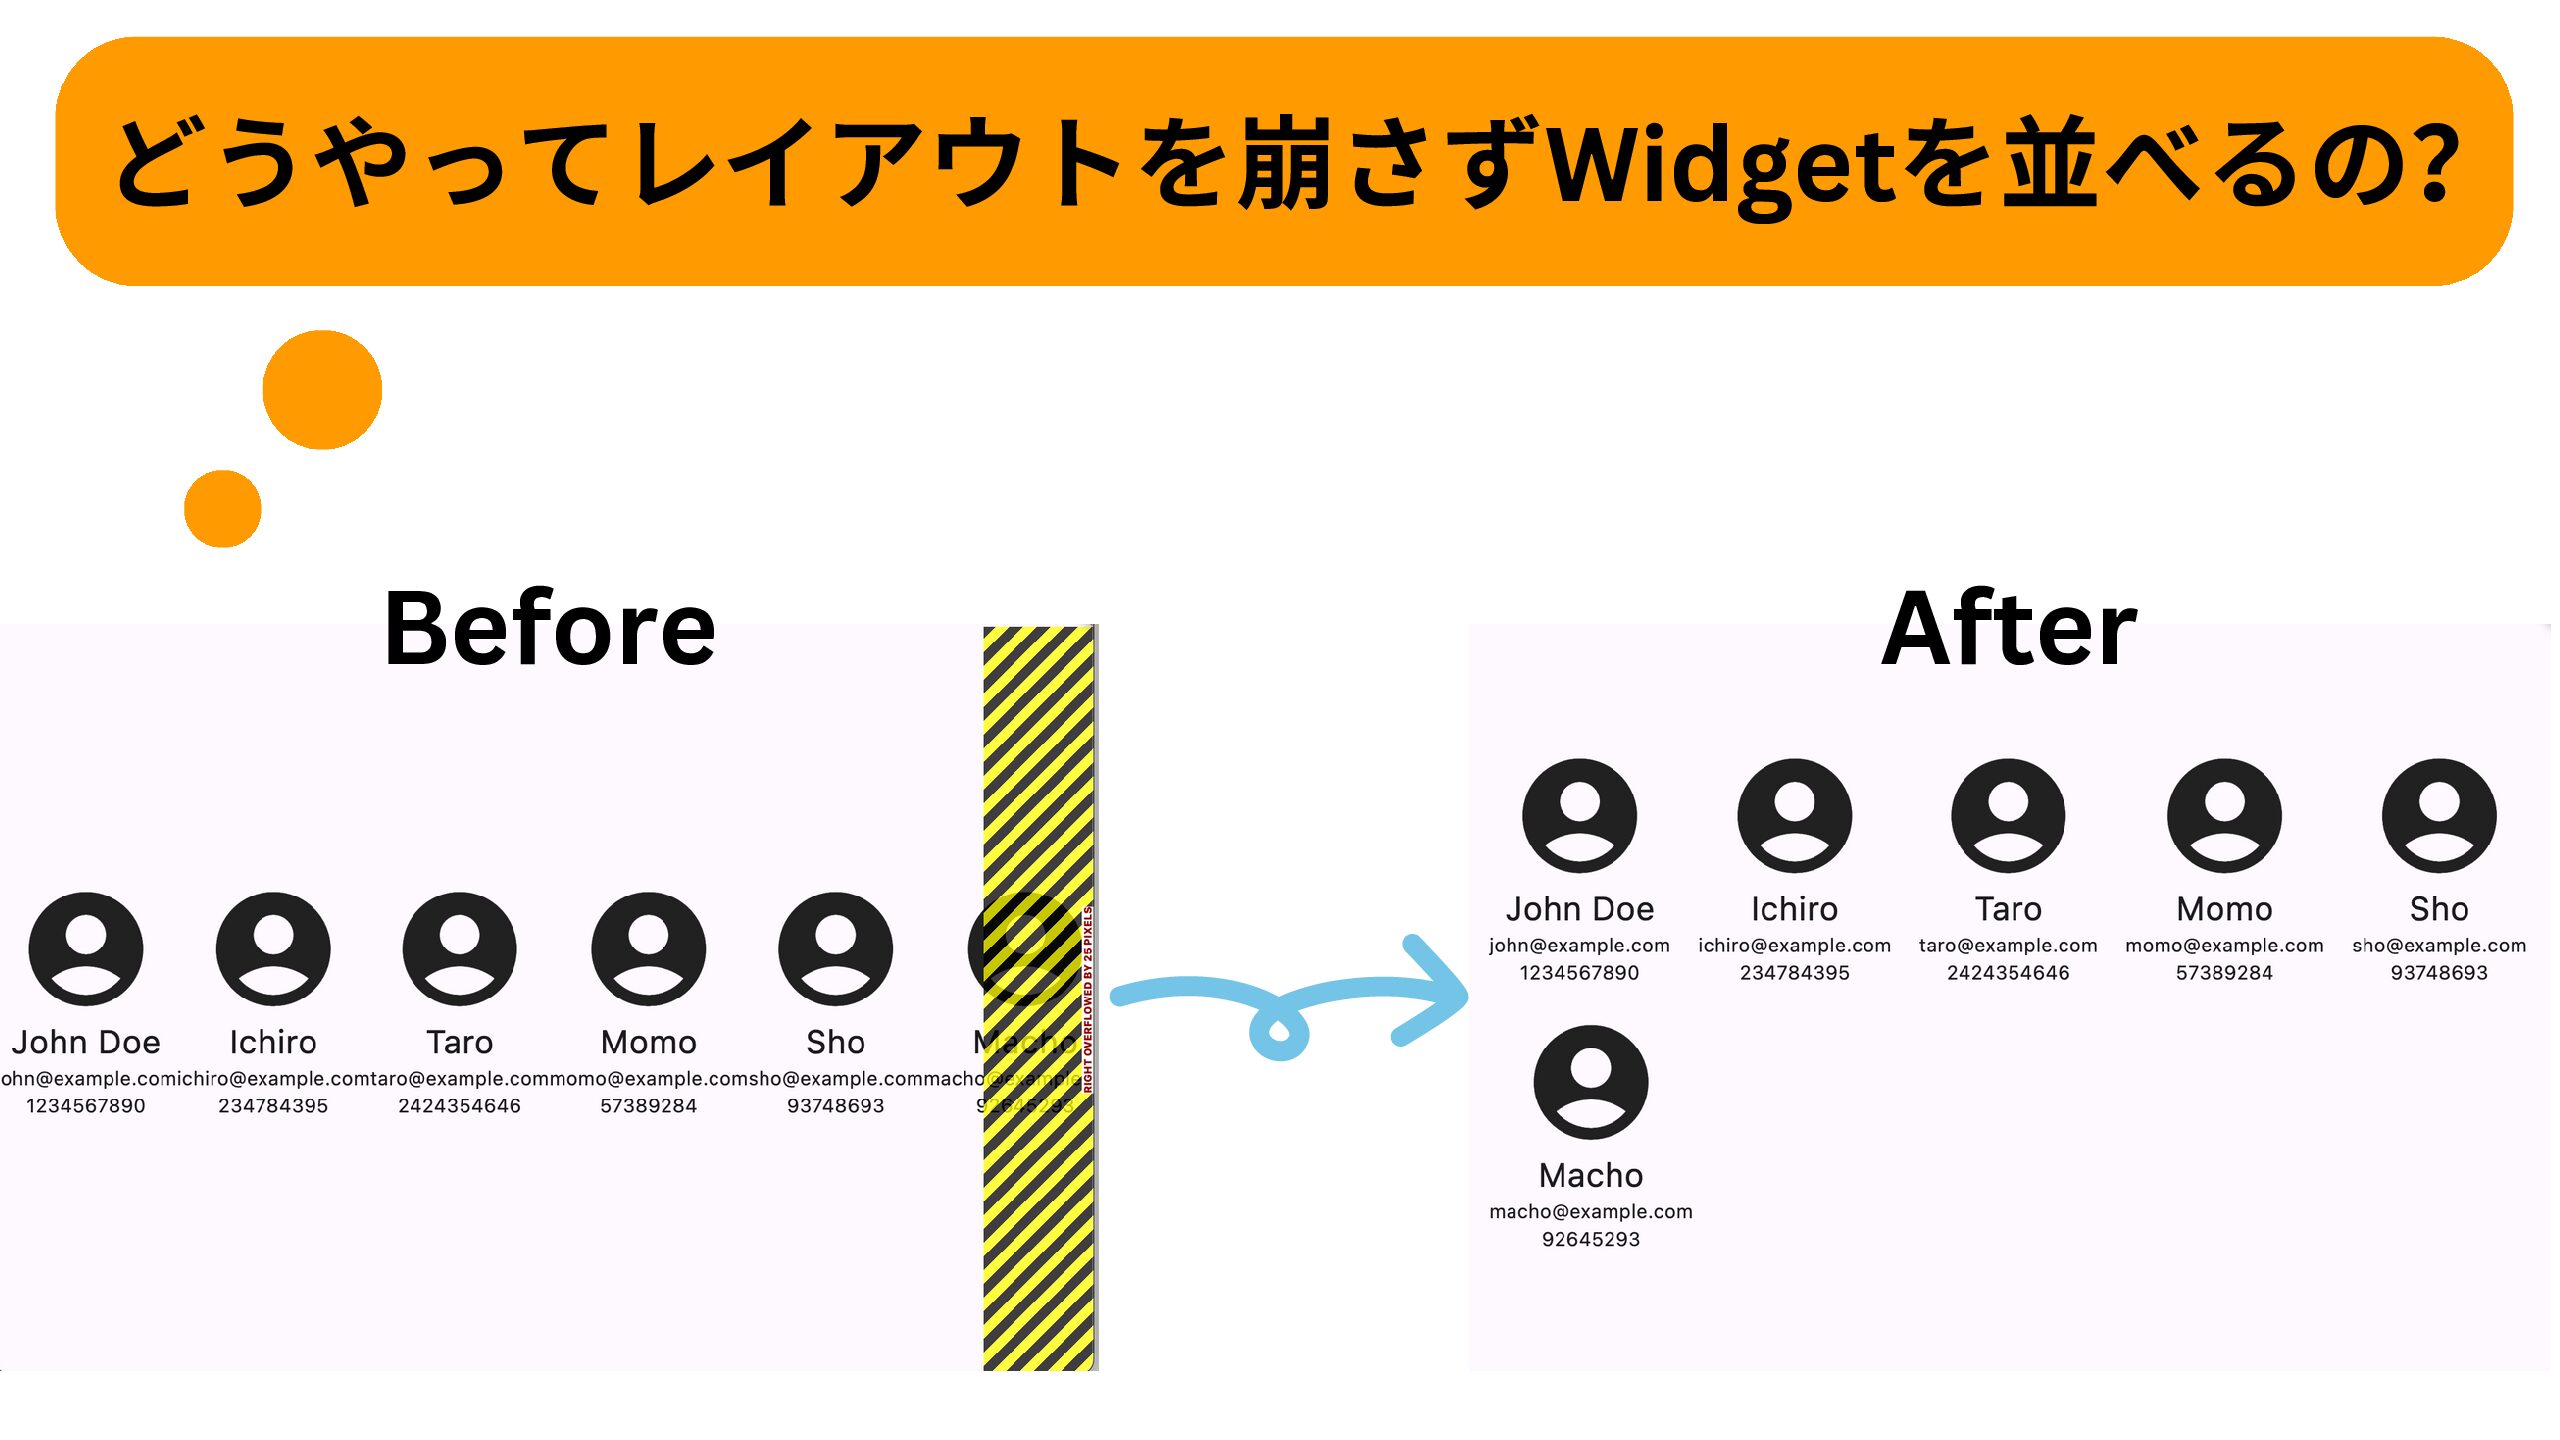
But then, my layout broke, and I was like, “What?! What just has happened?”
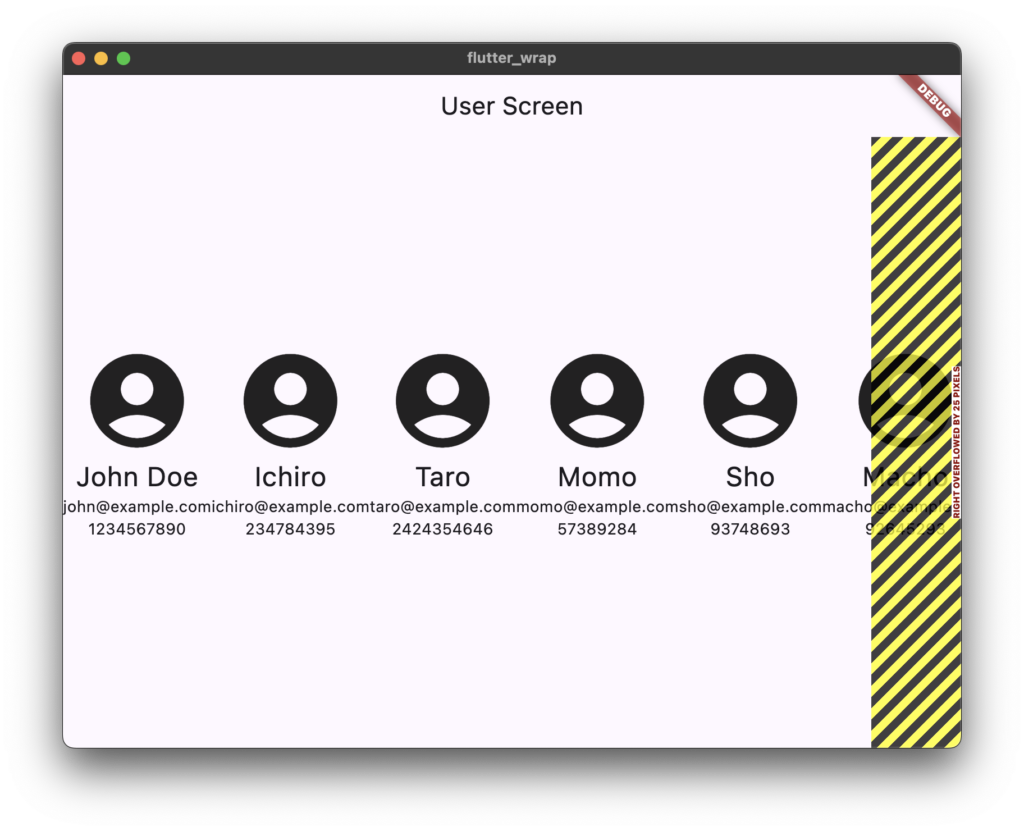
Since then, I have spent the entire day trying to fix it, but nothing worked😭
Finally, ChatGPT told me the solution. (I should’ve done it earlier😂)
And that solution is what I’ve learned today: the Wrap widget!!
Sample Code
This is what an example cde looks like
Wrap(
  spacing: 8.0, // space between children in the same "run"
  runSpacing: 4.0, // space between different "runs"
  children: [
    Container(width: 100, height: 50, color: Colors.red),
    Container(width: 100, height: 50, color: Colors.green),
    Container(width: 100, height: 50, color: Colors.blue),
  ],
)
It is quite simple and easy to use
My Attempt
And, this is the final form of my attempt
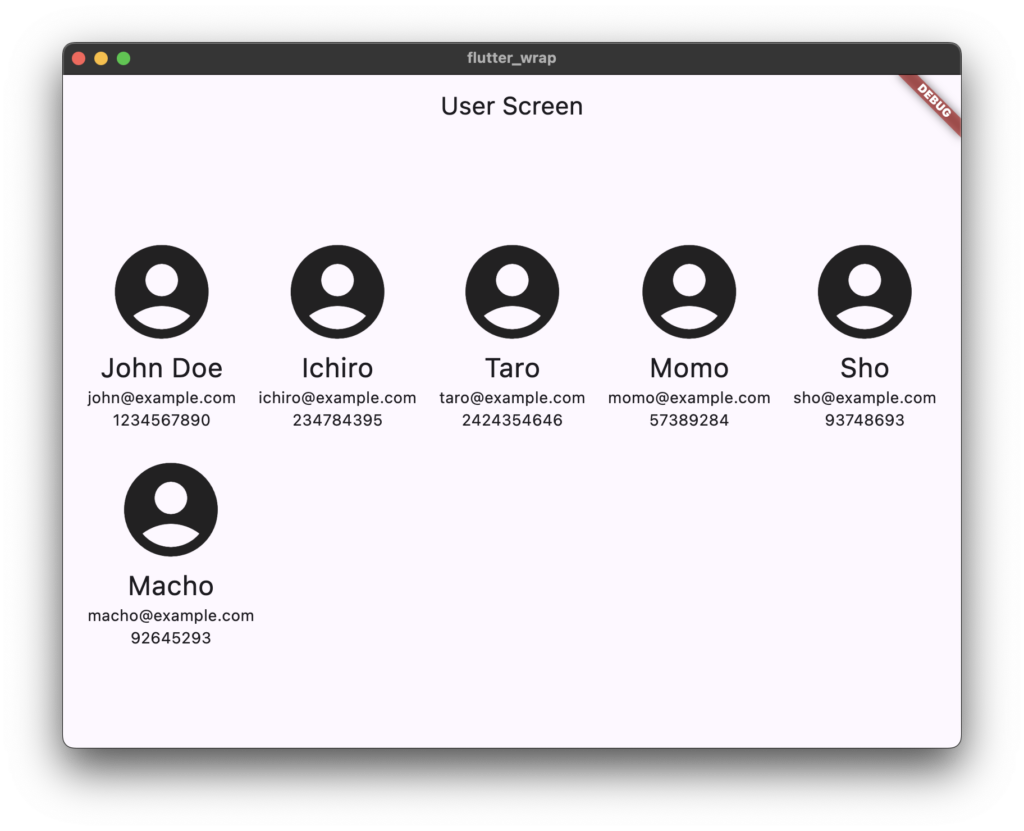
I’ve created tons of folders and files to understand easily, so it is so long that you may get confused. Sorry for that, but let me show you my effort😉
You can see the wrap in the user_screen.dart file
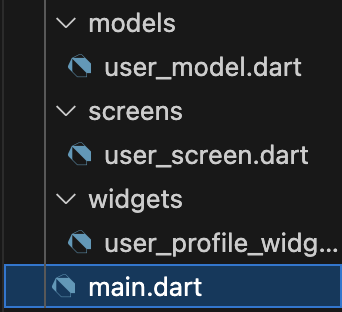
main.dart
import 'package:flutter/material.dart';
import 'screens/user_screen.dart';

void main() {
  runApp(const MyApp());
}

class MyApp extends StatelessWidget {
  const MyApp({super.key});

  @override
  Widget build(BuildContext context) {
    return MaterialApp(
      title: 'Flutter Demo',
      home: UserScreen(),
    );
  }
}
user_model.dart
class UserModel {
  late String name;
  late String email;
  late String phone;

  UserModel({required this.name, required this.email, required this.phone});
}
user_profile_widget.dart
import 'package:flutter/material.dart';
import '../models/user_model.dart';

class UserProfileWidget extends StatelessWidget {
  final UserModel user;

  const UserProfileWidget({Key? key, required this.user}) : super(key: key);

  @override
  Widget build(BuildContext context) {
    return Column(
      mainAxisAlignment: MainAxisAlignment.center,
      children: <Widget>[
        Icon(Icons.account_circle, size: 100),
        Text(user.name, style: TextStyle(fontSize: 24)),
        Text(user.email),
        Text(user.phone),
      ],
    );
  }
}
user_screen.dart
import 'package:flutter/material.dart';
import '../models/user_model.dart';
import '../widgets/user_profile_widget.dart';

class UserScreen extends StatelessWidget {
  final List<UserModel> users = [
    UserModel(name: 'John Doe', email: 'john@example.com', phone: '1234567890'),
    UserModel(name: 'Ichiro', email: 'ichiro@example.com', phone: '234784395'),
    UserModel(name: 'Taro', email: 'taro@example.com', phone: '2424354646'),
    UserModel(name: 'Momo', email: 'momo@example.com', phone: '57389284'),
    UserModel(name: 'Sho', email: 'sho@example.com', phone: '93748693'),
    UserModel(name: 'Macho', email: 'macho@example.com', phone: '92645293'),
  ];

  UserScreen({super.key});

  @override
  Widget build(BuildContext context) {
    return Scaffold(
      appBar: AppBar(
        title: Text('User Screen'),
      ),
      body: Center(
        child: Wrap(spacing: 20, runSpacing: 20, children: <Widget>[
          UserProfileWidget(user: users[0]),
          UserProfileWidget(user: users[1]),
          UserProfileWidget(user: users[2]),
          UserProfileWidget(user: users[3]),
          UserProfileWidget(user: users[4]),
          UserProfileWidget(user: users[5]),
        ]),
      ),
    );
  }
}
Comment
I did it😎
Thank you for reading through the entire article. I appreciate it.
Finally, I put the useful chart created by ChatGPT explaining the difference between the Row/Column and the Wrap widget.
| Scenario | Use Row/Column | Use Wrap |
|---|
| Precise, linear alignment | ✅ | ❌ |
| Known or fixed number of children | ✅ | ❌ |
| Variable number or size of children | ❌ | ✅ |
| Layout adapts to available space | ❌ | ✅ |
| Prevent overflow by wrapping children | ❌ | ✅ |
コメント