はじめに
こんにちは、Crazeです!
なんか英語も学びたくなったので、これから英語で記事を書いていきたいと思います!
最後にこの記事で使った使いやすそうなフレーズとか単語をまとめておくから見てね❤️
一緒に勉強しよう!
Then, Let’s get started!!
Today, I’ve studied PageView, a widget used to navigate users through multiple pages.
You might see PageView in game apps, where it explains the content and provides instructions on how to play
That’s it!
Everything we need to do is only four things.
OK! Then, let’s have a look at what the actual code looks like
Actual code
This is the structure of my Flutter files
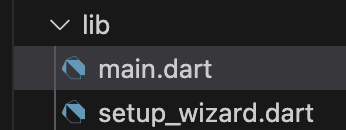
The red-coloured text indicates parts where you need to change names or values, whereas the yellow sections can be copied and pasted directly without any changes.
main.dart (Don’t forget to import the setup_wizard.dart file)
import 'package:flutter/material.dart';
import 'setup_wizard.dart';

void main() {
  runApp(MyApp());
}

class MyApp extends StatelessWidget {
  @override
  Widget build(BuildContext context) {
    return MaterialApp(
      title: 'Initial Setup',
      home: SetupWizard(),
    );
  }
}
setup_wizard.dart
import 'package:flutter/material.dart';

class SetupWizard extends StatefulWidget {
  @override
  _SetupWizardState createState() => _SetupWizardState();
}

class _SetupWizardState extends State<SetupWizard> {
// 1st+2nd step to make a controller and an index
  final PageController _pageController = PageController();
  int _currentIndex = 0;

// method to move on to the next page
  void _nextPage() {
    if (_currentIndex < 2) {
      _pageController.nextPage(
        duration: Duration(milliseconds: 300),
        curve: Curves.easeIn,
      );
    }
  }

  @override
  Widget build(BuildContext context) {
    return Scaffold(
      appBar: AppBar(title: Text('Inital Setup')),
      body: PageView(
        controller: _pageController,
        onPageChanged: (index) {
          setState(() {
            _currentIndex = index;
          });
        },
// add widhets or a screen in the SetupPage()
        children: [
          SetupPage(
            title: 'Step 1: Enter your name',
            content: TextField(
              decoration: InputDecoration(labelText: 'Name'),
            ),
          ),
          SetupPage(
            title: 'Step 2: Enter your bio',
            content: TextField(
              decoration: InputDecoration(labelText: 'bio'),
            ),
          ),
          SetupPage(
            title: 'Step 3: Confirm your details',
            content: ElevatedButton(
              onPressed: () {
                // finish
                Navigator.of(context).pop();
              },
              child: Text('Confirm'),
            ),
          ),
        ],
      ),
      floatingActionButton: FloatingActionButton(
        onPressed: _nextPage,
        child: Icon(Icons.navigate_next),
      ),
    );
  }
}

class SetupPage extends StatelessWidget {
  final String title;
  final Widget content;

  SetupPage({required this.title, required this.content});

  @override
  Widget build(BuildContext context) {
    return Padding(
      padding: const EdgeInsets.all(16.0),
      child: Column(
        mainAxisAlignment: MainAxisAlignment.center,
        children: [
          Text(title,
              style: TextStyle(fontSize: 24, fontWeight: FontWeight.bold)),
          SizedBox(height: 20),
          content,
        ],
      ),
    );
  }
}
Example code
In this code, I used some TextField and TextEditingController. I’ve created templates for both, so if you want to dive deeper into how they work, check this out!
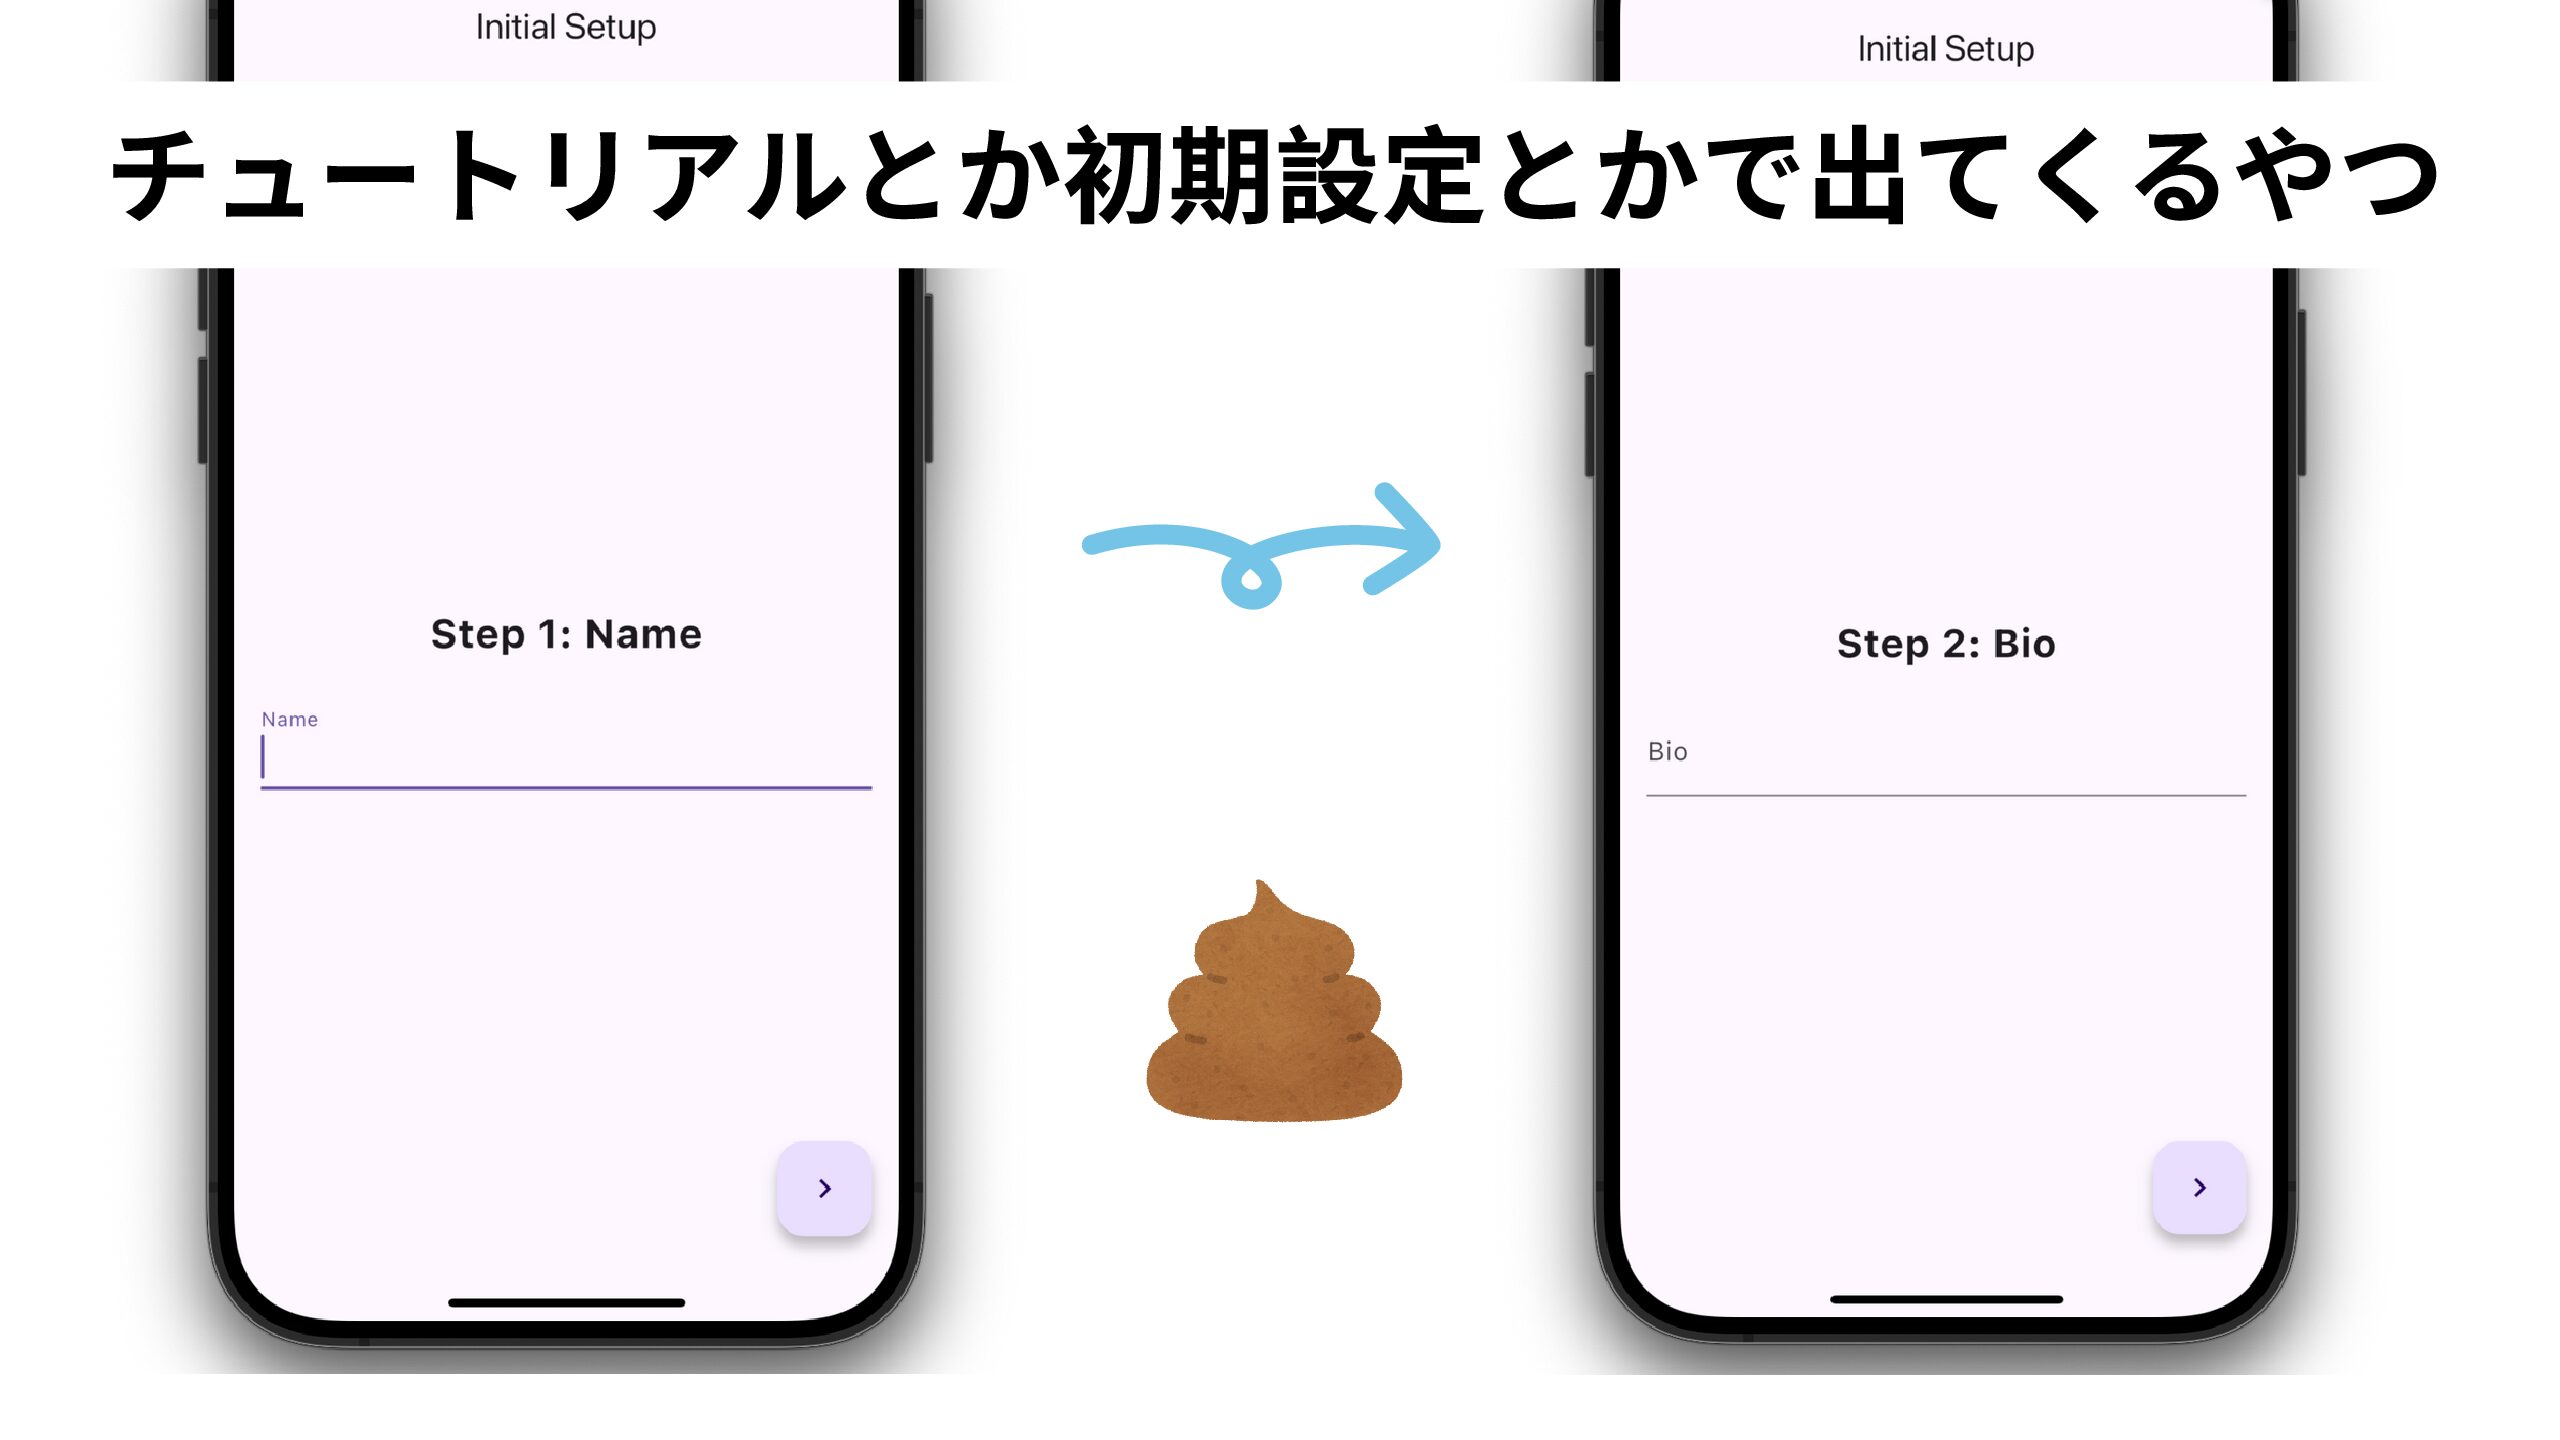
Final form
data structure
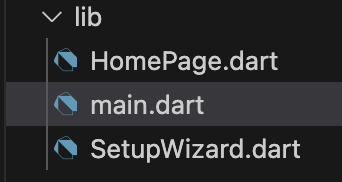
main.dart
import 'package:flutter/material.dart';
import 'SetupWizard.dart';

void main() {
  runApp(MyApp());
}

class MyApp extends StatelessWidget {
  @override
  Widget build(BuildContext context) {
    return MaterialApp(
      title: 'Initial Setup',
      home: SetupWizard(),
    );
  }
}
SetupWizard.dart
import 'package:flutter/material.dart';
import 'HomePage.dart';

class SetupWizard extends StatefulWidget {
  @override
  _SetupWizardState createState() => _SetupWizardState();
}

class _SetupWizardState extends State<SetupWizard> {
  final PageController _pageController = PageController();
  final TextEditingController _nameController = TextEditingController();
  final TextEditingController _introController = TextEditingController();
  int _currentIndex = 0;

  @override
  void dispose() {
    _pageController.dispose(); // Dispose of the PageController
    _nameController.dispose(); // Dispose of the TextEditingController for name
    _introController.dispose();
    super.dispose(); // Call the superclass's dispose method
  }

  void _nextPage() {
    if (_currentIndex < 2) {
      _pageController.nextPage(
        duration: Duration(milliseconds: 300),
        curve: Curves.easeIn,
      );
    }
  }

  void _completeSetup() {
    Navigator.of(context).pushReplacement(
      MaterialPageRoute(
        builder: (context) => HomePage(
          name: _nameController.text,
          intro: _introController.text,
        ),
      ),
    );
  }

  @override
  Widget build(BuildContext context) {
    return Scaffold(
      appBar: AppBar(title: Text('Initial Setup')),
      body: PageView(
        controller: _pageController,
        onPageChanged: (index) {
          setState(() {
            _currentIndex = index;
          });
        },
        children: [
          SetupPage(
            title: 'Step 1: Name',
            content: TextField(
              controller: _nameController,
              decoration: InputDecoration(labelText: 'Name'),
            ),
          ),
          SetupPage(
            title: 'Step 2: Bio',
            content: TextField(
              controller: _introController,
              decoration: InputDecoration(labelText: 'Bio'),
            ),
          ),
          SetupPage(
            title: 'Step 3: Finish',
            content: ElevatedButton(
              onPressed: _completeSetup,
              child: Text('Finish'),
            ),
          ),
        ],
      ),
      floatingActionButton: FloatingActionButton(
        onPressed: _nextPage,
        child: Icon(Icons.navigate_next),
      ),
    );
  }
}

class SetupPage extends StatelessWidget {
  final String title;
  final Widget content;

  SetupPage({required this.title, required this.content});

  @override
  Widget build(BuildContext context) {
    return Padding(
      padding: const EdgeInsets.all(16.0),
      child: Column(
        mainAxisAlignment: MainAxisAlignment.center,
        children: [
          Text(title,
              style: TextStyle(fontSize: 24, fontWeight: FontWeight.bold)),
          SizedBox(height: 20),
          content,
        ],
      ),
    );
  }
}
HomePage.dart
import 'package:flutter/material.dart';

class HomePage extends StatelessWidget {
  final String name;
  final String intro;

  HomePage({required this.name, required this.intro});

  @override
  Widget build(BuildContext context) {
    return Scaffold(
      appBar: AppBar(title: Text('home')),
      body: Padding(
        padding: const EdgeInsets.all(16.0),
        child: Column(
          mainAxisAlignment: MainAxisAlignment.center,
          children: [
            Text('Welcome, $name!', style: TextStyle(fontSize: 24)),
            SizedBox(height: 10),
            Text('Bio: $intro', style: TextStyle(fontSize: 18)),
          ],
        ),
      ),
    );
  }
}
Today’s useful phrases and vocabularies
- instruction on how to do ~:〜のやり方についての指示
“The instruction on how to do the project is available in the document.”
プロジェクトの進め方に関する指示は、ドキュメントに記載されています。 - Installation process:インストール手順
- final form:完成形
- navigate someone through ~:〜に~を案内する
“The guide will navigate us through the city’s historical sites.”
ガイドが街の歴史的な場所を案内してくれます。 - dive deeper into ~:〜についてさらに深く学ぶ
“This course allows students to dive deeper into advanced programming concepts.”
このコースでは、学生が高度なプログラミングの概念をさらに深く学ぶことができます。

コメント